Overview
I was excited for the first clear night in weeks. I got everything set up and took about 40 light frames over 3.5 hours. That seemed fine, until I tried to process them all.
Equipment Issues
About half-way through, I saw images that started coming in as just long star trails. I happened to have just increase the exposure time, so I thought that had something to do with it. It turns out that my telescope had gotten caught on the power supply brick that I had clamped to the tripod leg. Once I moved that down I was back in business.
This also gave me a chance to do a meridian flip. Sounds routine, but it could be the first time I did that.
Composing Troubles
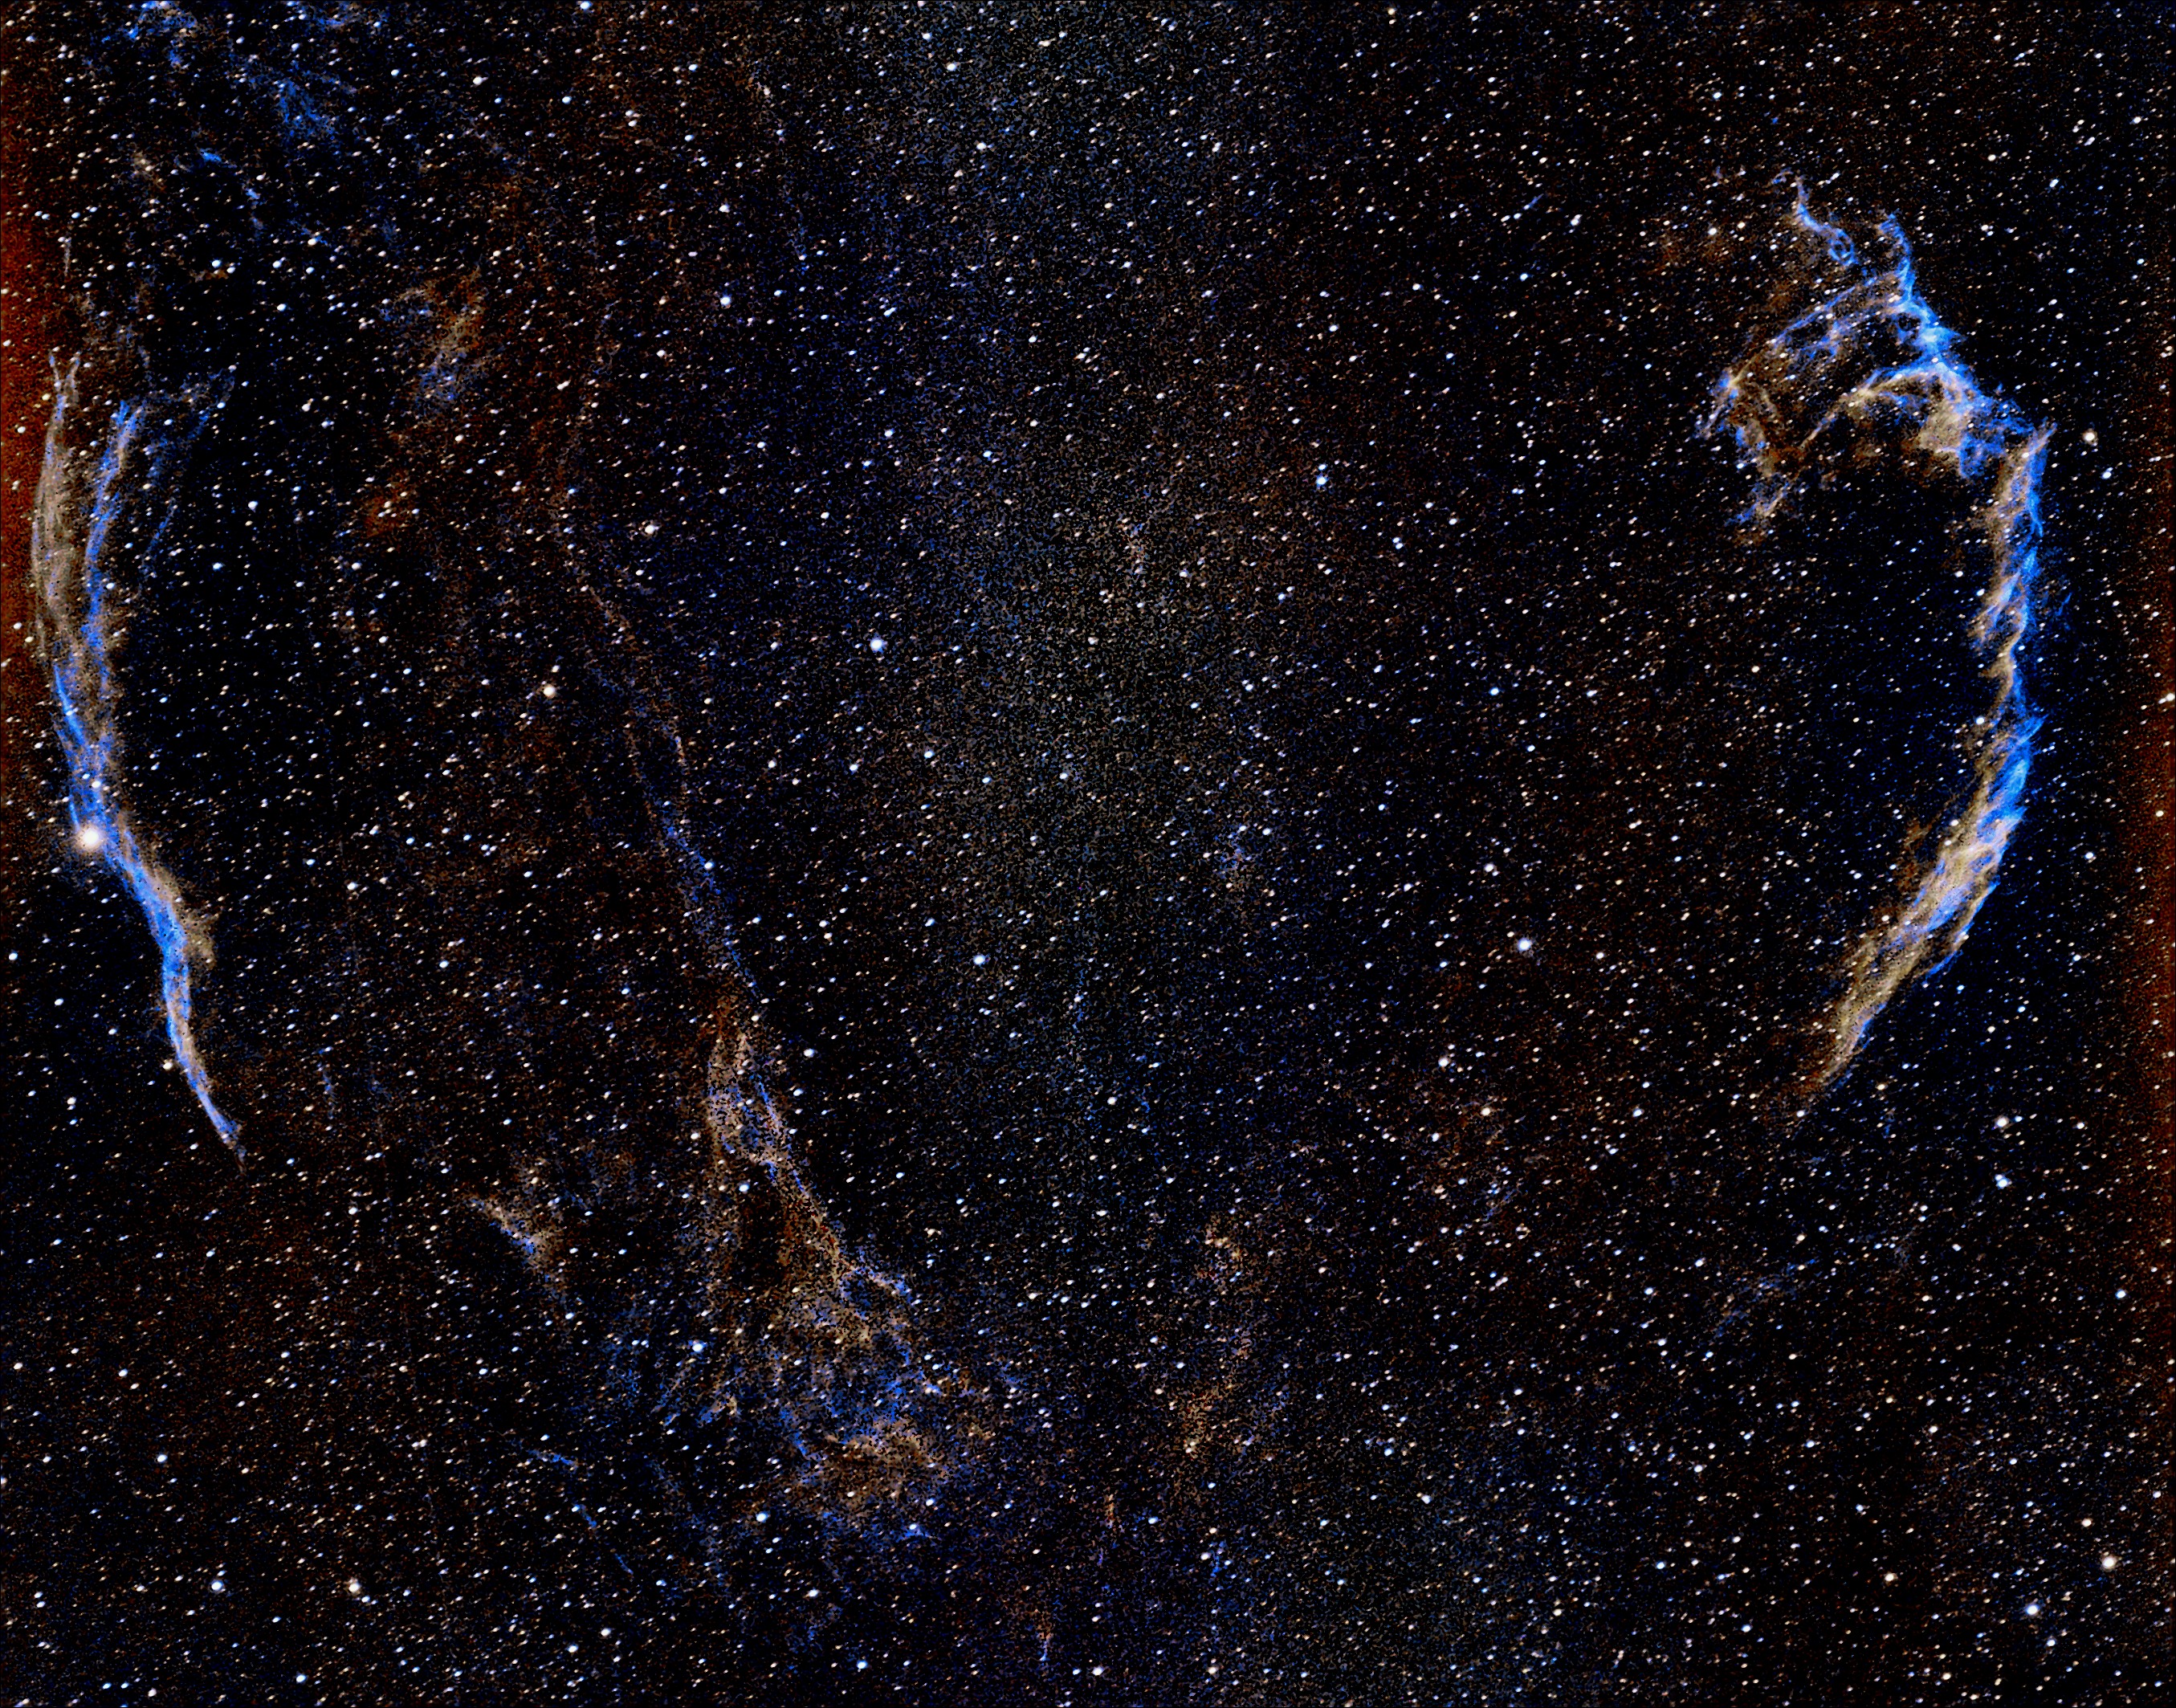
I tried to get all of the veil nebula captured in one frame. It is fairly large, and has a couple of areas of interest. It just barely fits in my camera/lens resolution, so after everything was stacked, the interesting parts were way on the edges of the resulting image. Next time I won’t be quite so ambitious and focus on one part at a time.
There was some light pollution on the edges, but since the subjects stretched all the way to the edge, there was not much I could do about it. I just need to center the object better, which should be easy with plate solving.
Calibration Issues
I thought I would save some time by just re-using the calibration frames from last time. What I didn’t realize is that those frames had some problems, which made all the calibration frames pretty much useless.
Dark Frames
First off, I found that my stacked dark frames looked like this:
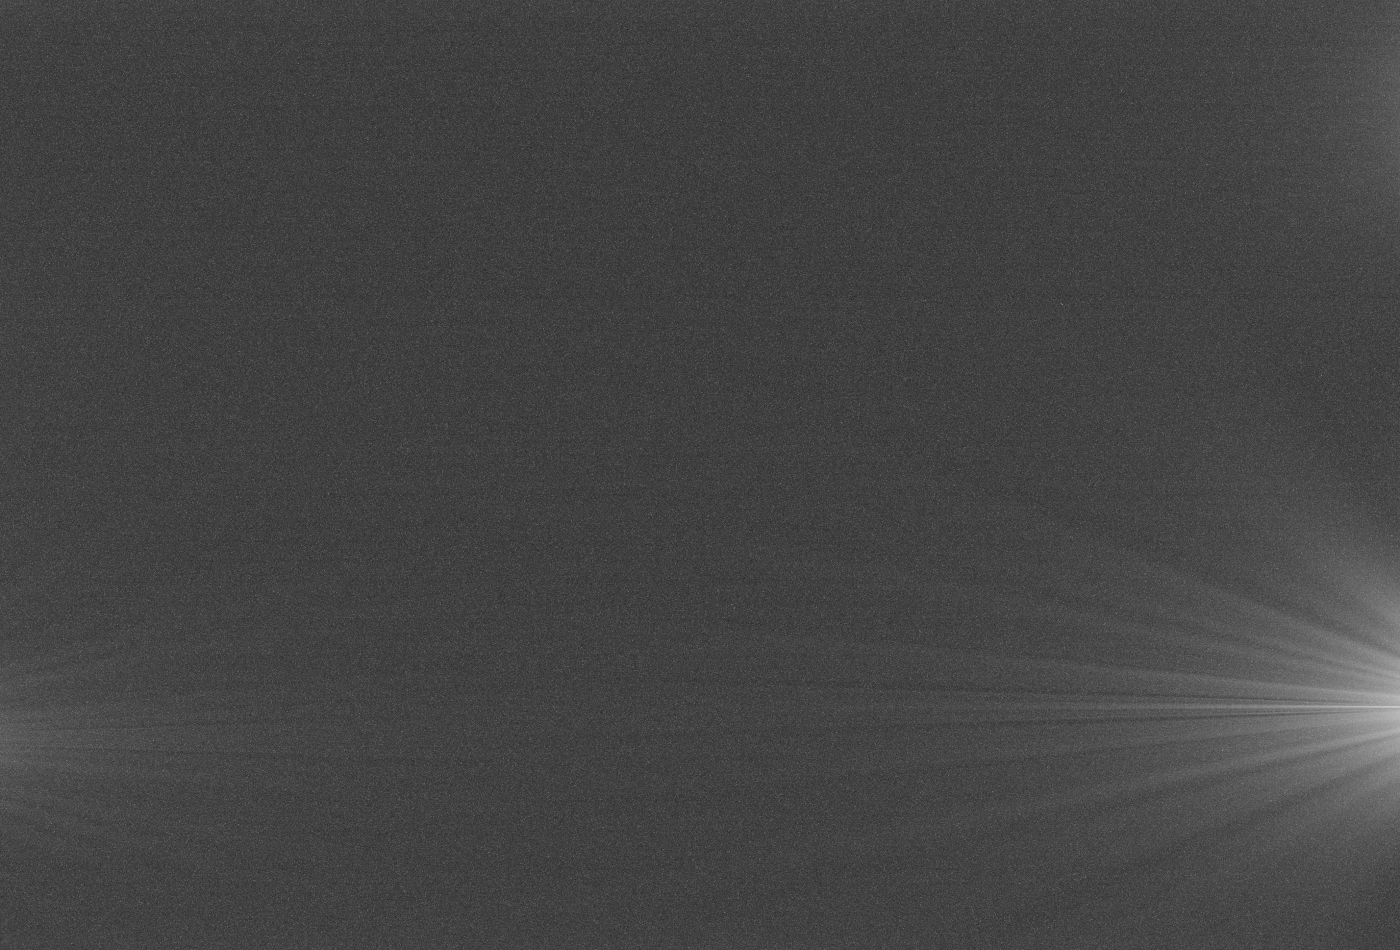
I guess they were not that dark and I had some light leaking in. I’m not exactly sure how that happened, but it makes these frames useless.
Update: This is caused by Amp Glow
Flat
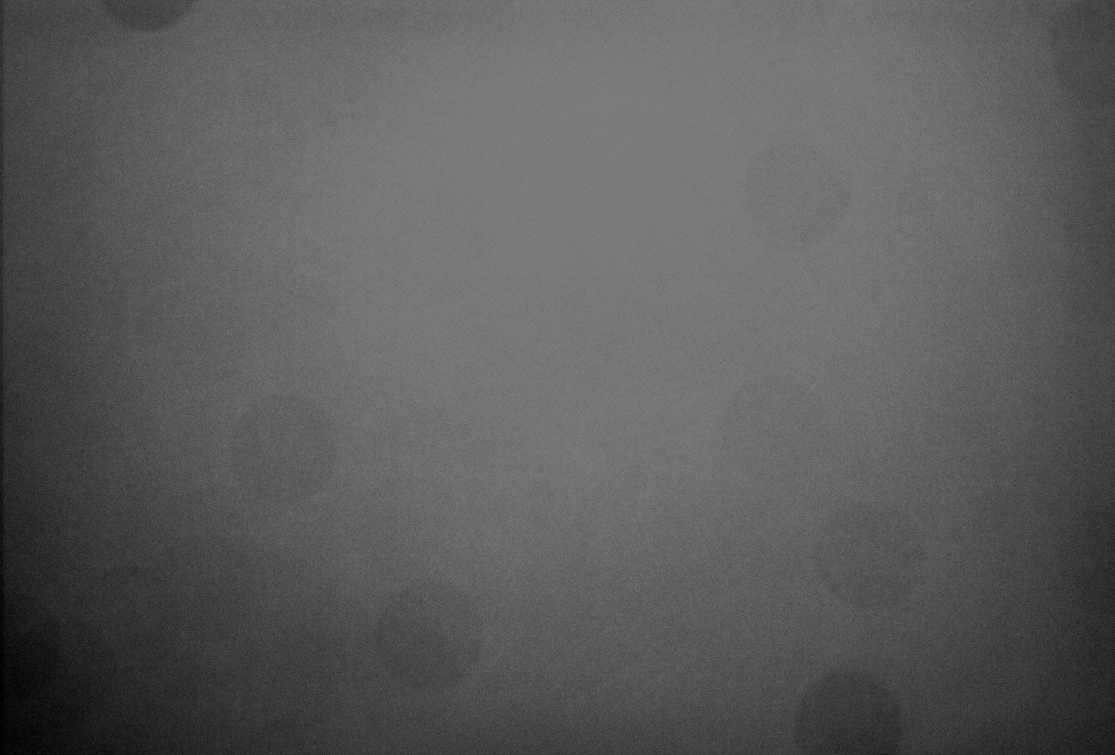
Then I found out that my flat frames were not very flat. One corner was much darker than the rest of the image, so I must have not done this process correctly either. And there looks to be a lot of dust on my lens, which is embarrassing.
Siril Post-Processing / Output
As a quick first step, I tend to do the same things in Siril for most of my images. It turns out that the order I do these in makes a big difference. Here are some comparisons
Base Image (cropped)
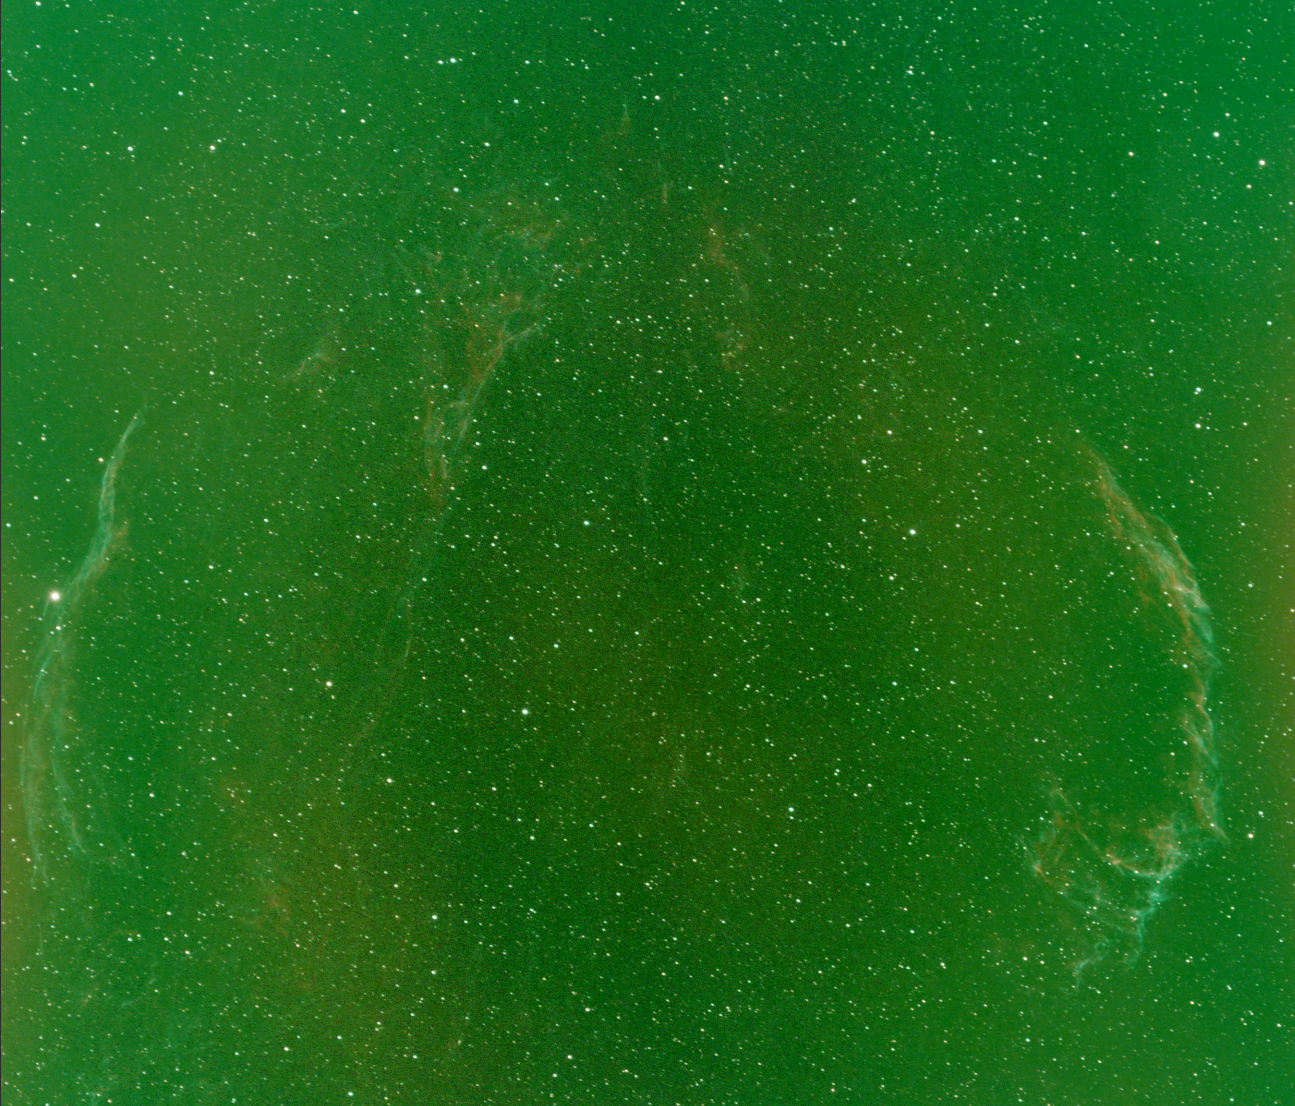
I would typically do Deconvolution as well, but I’ll skip that step for this experiment.
Flow 1
Steps:
- Background Extraction
- Remove Green Noise (no/little impact after background extraction)
- Photometric Color Calibration
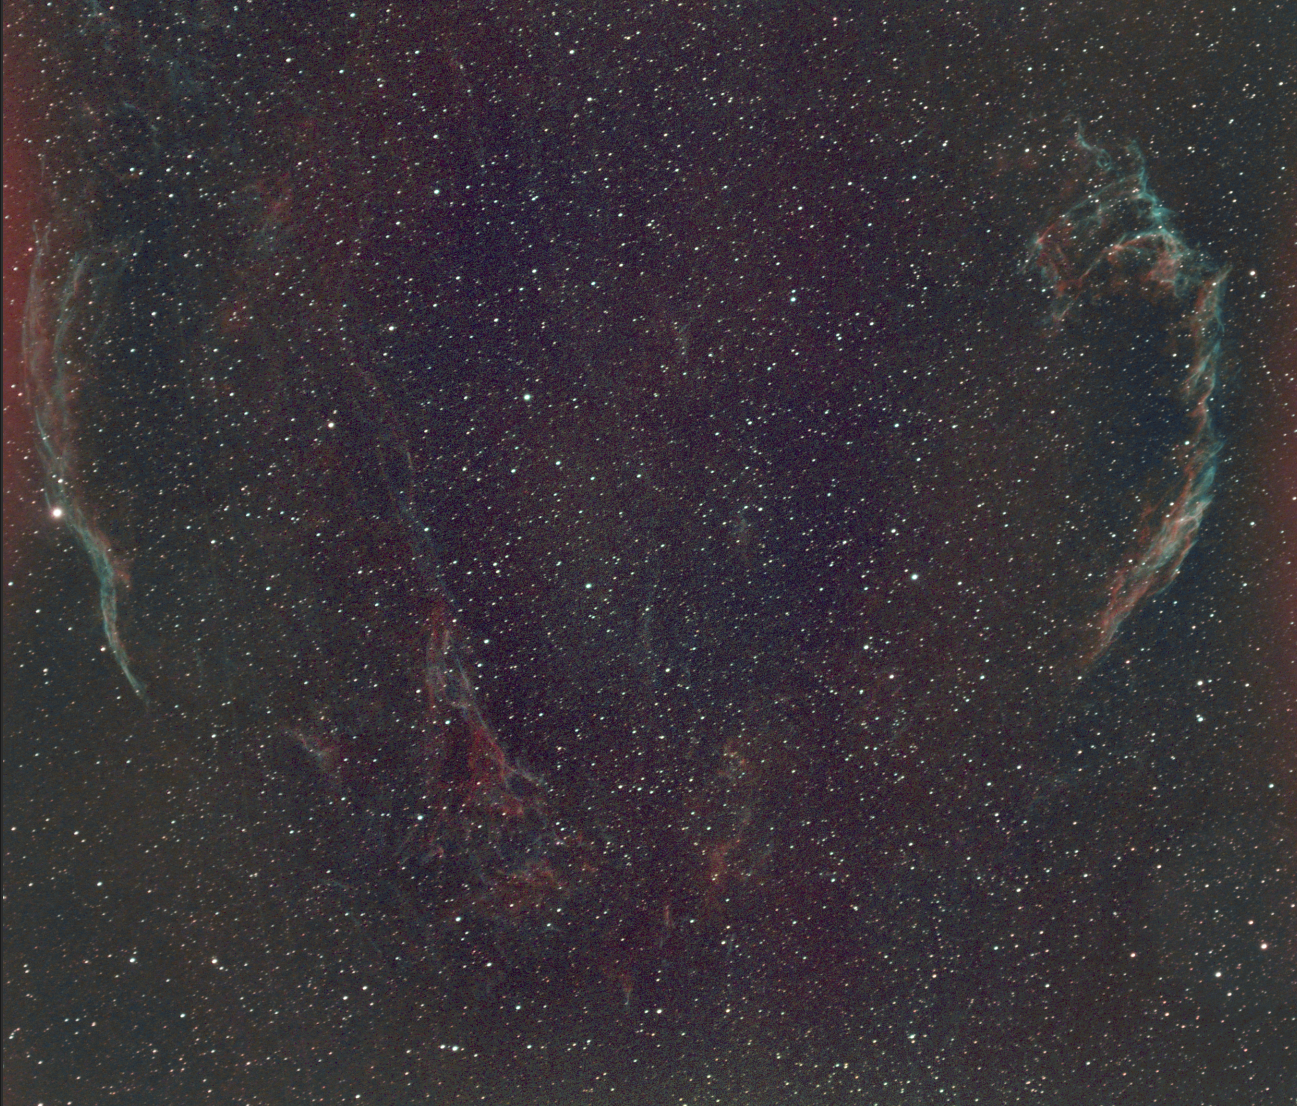
Flow 2
Steps:
- Remove Green Noise
- Background Extraction
- Photometric Color Calibration
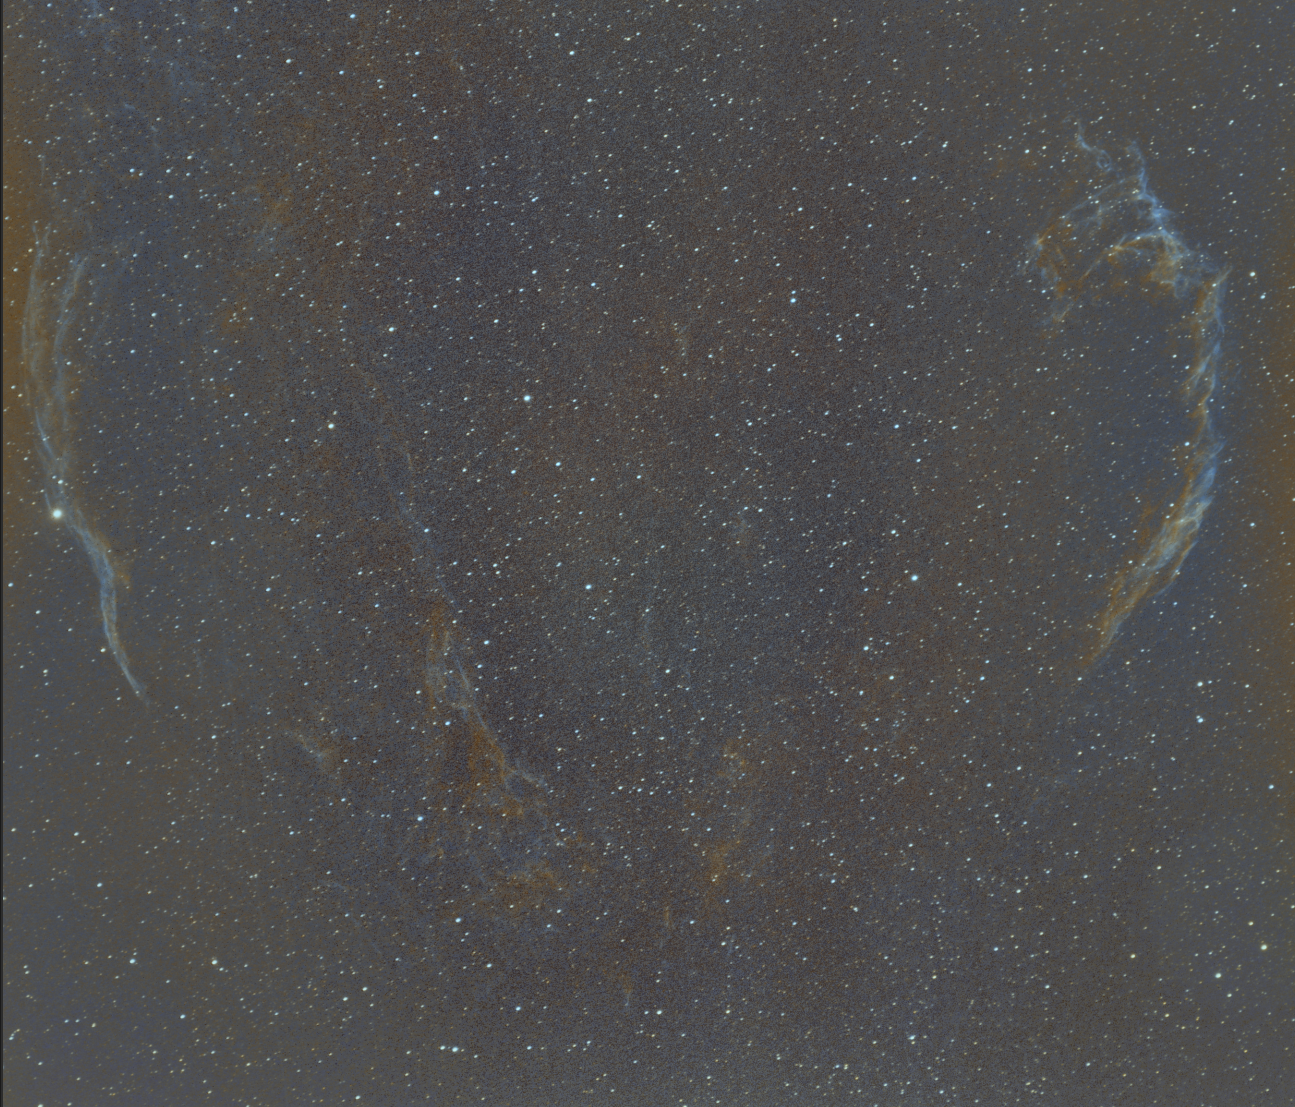
Flow 3
Steps:
- Photometric Color Calibration - FAIL
I think the base image has so much interference that the plate solving does not work
Flow 4
Steps:
- Remove Green Noise
- Photometric Color Calibration
- Background Extraction
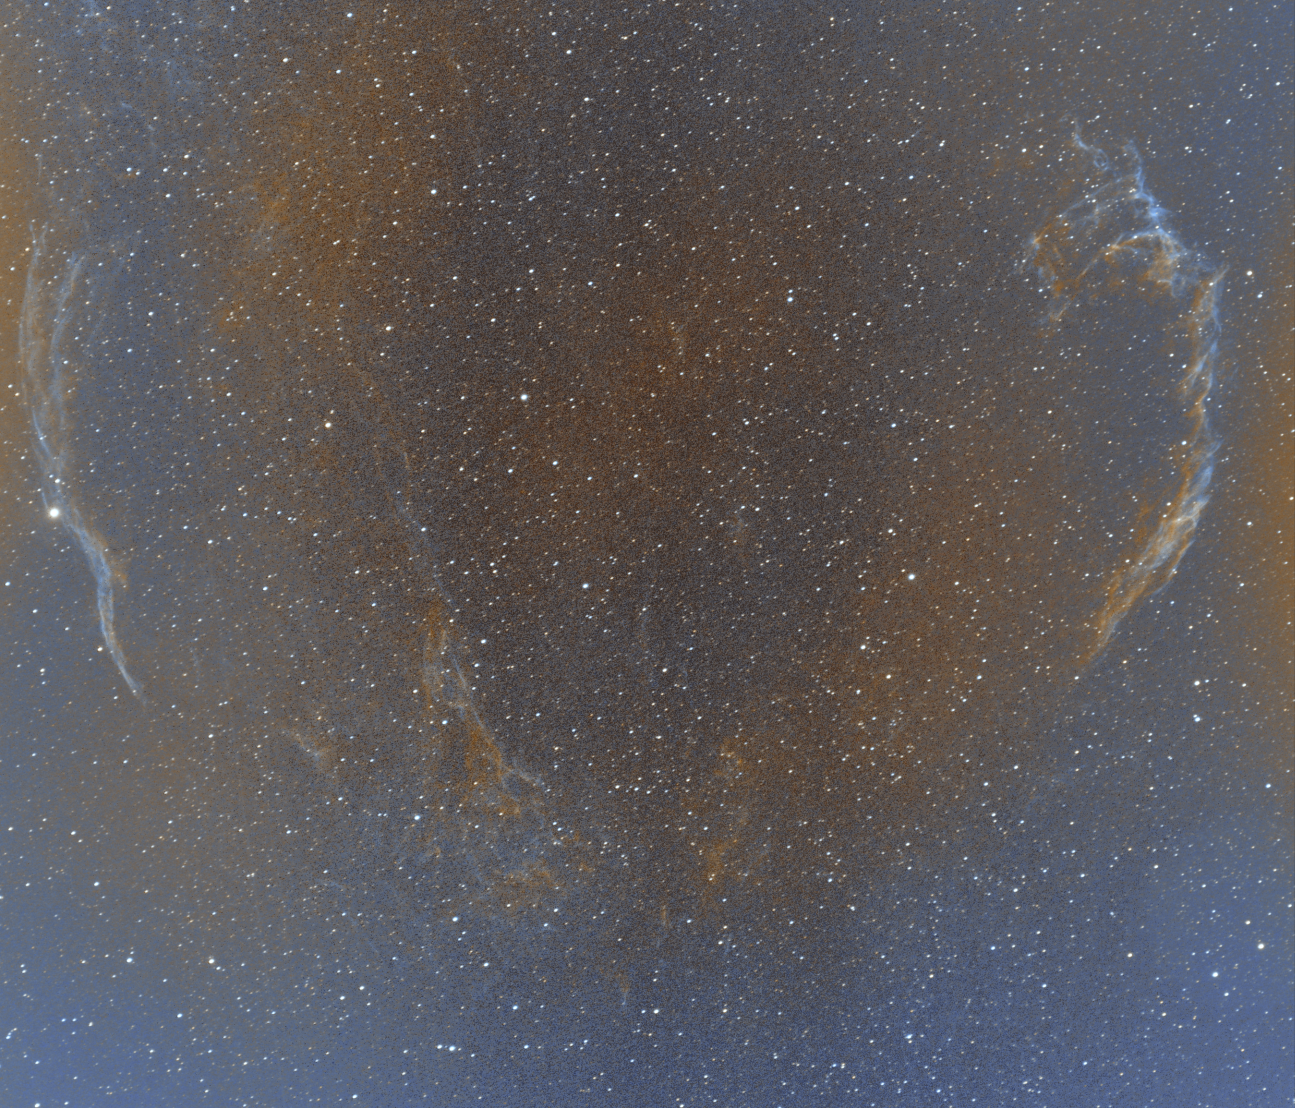
Output
For this image I liked the “Flow 2” one above as a starting point. From there I did some Asinh stretching and saturation changes.
I don’t love the result, but I will keep working on it.
